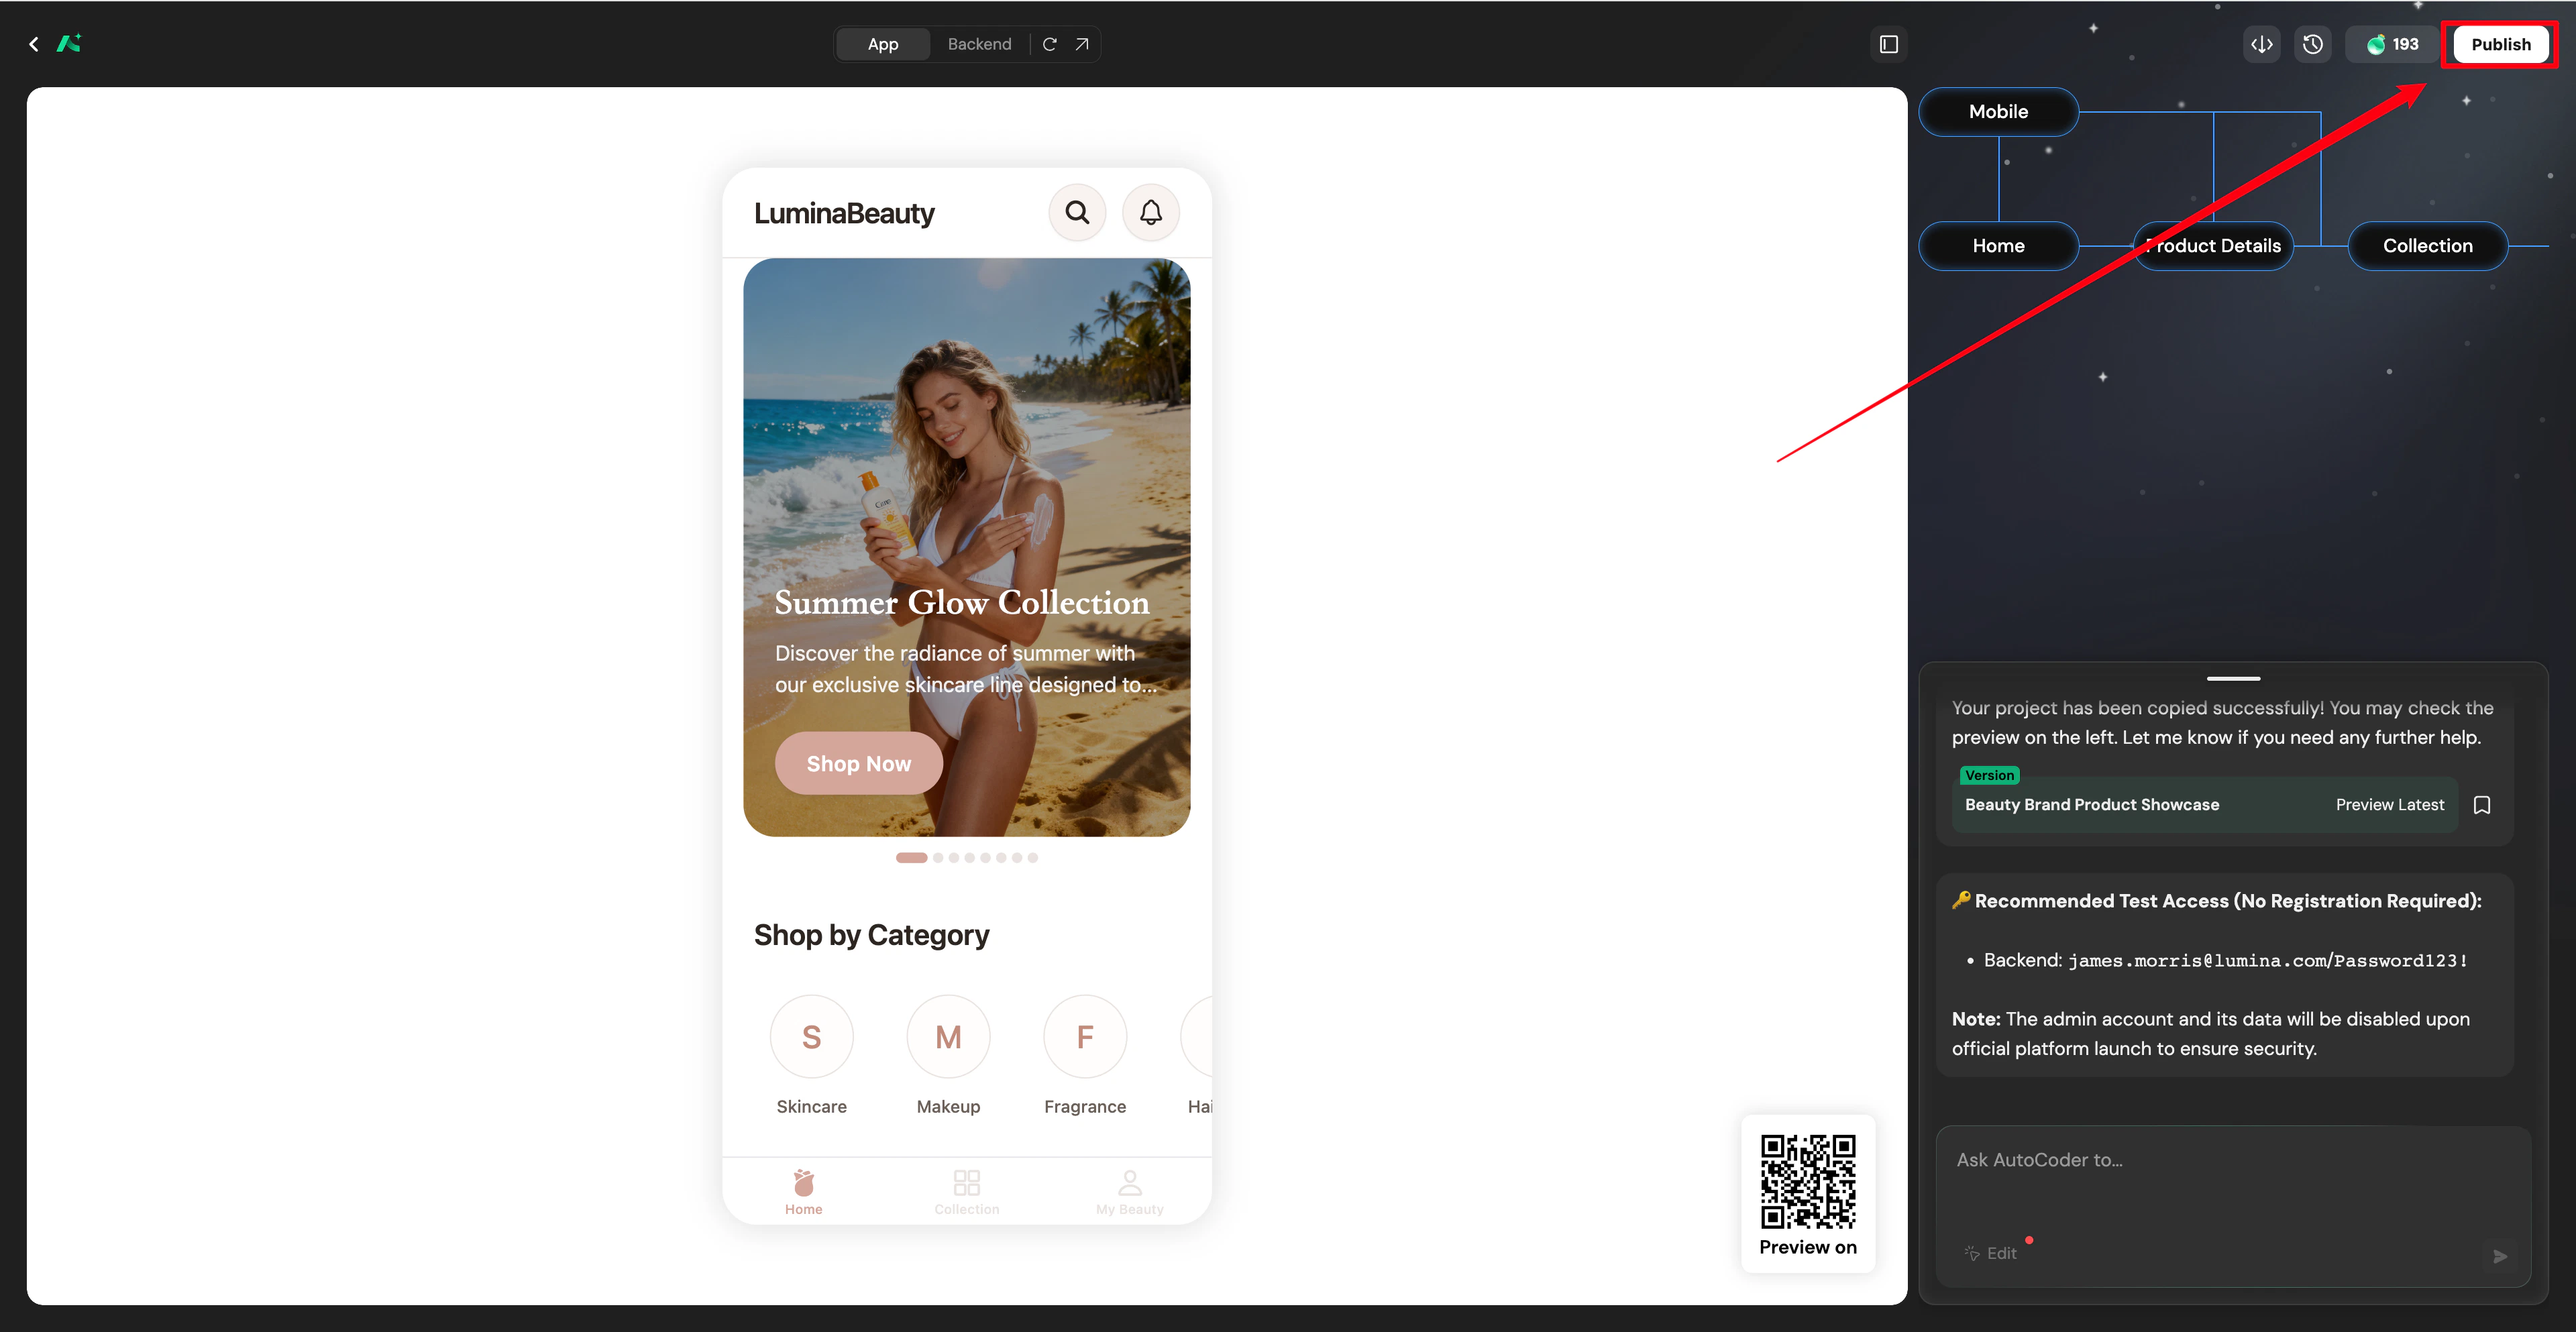
Project launch
Launch your project externally, including webside and domain configuration.Web deployment
Configure your domain
Choose to configure a Subdomain, Purchase a Domain, or bind a Custom Domain. Optionally, toggle Share to SparkVibe to share your project with the community.
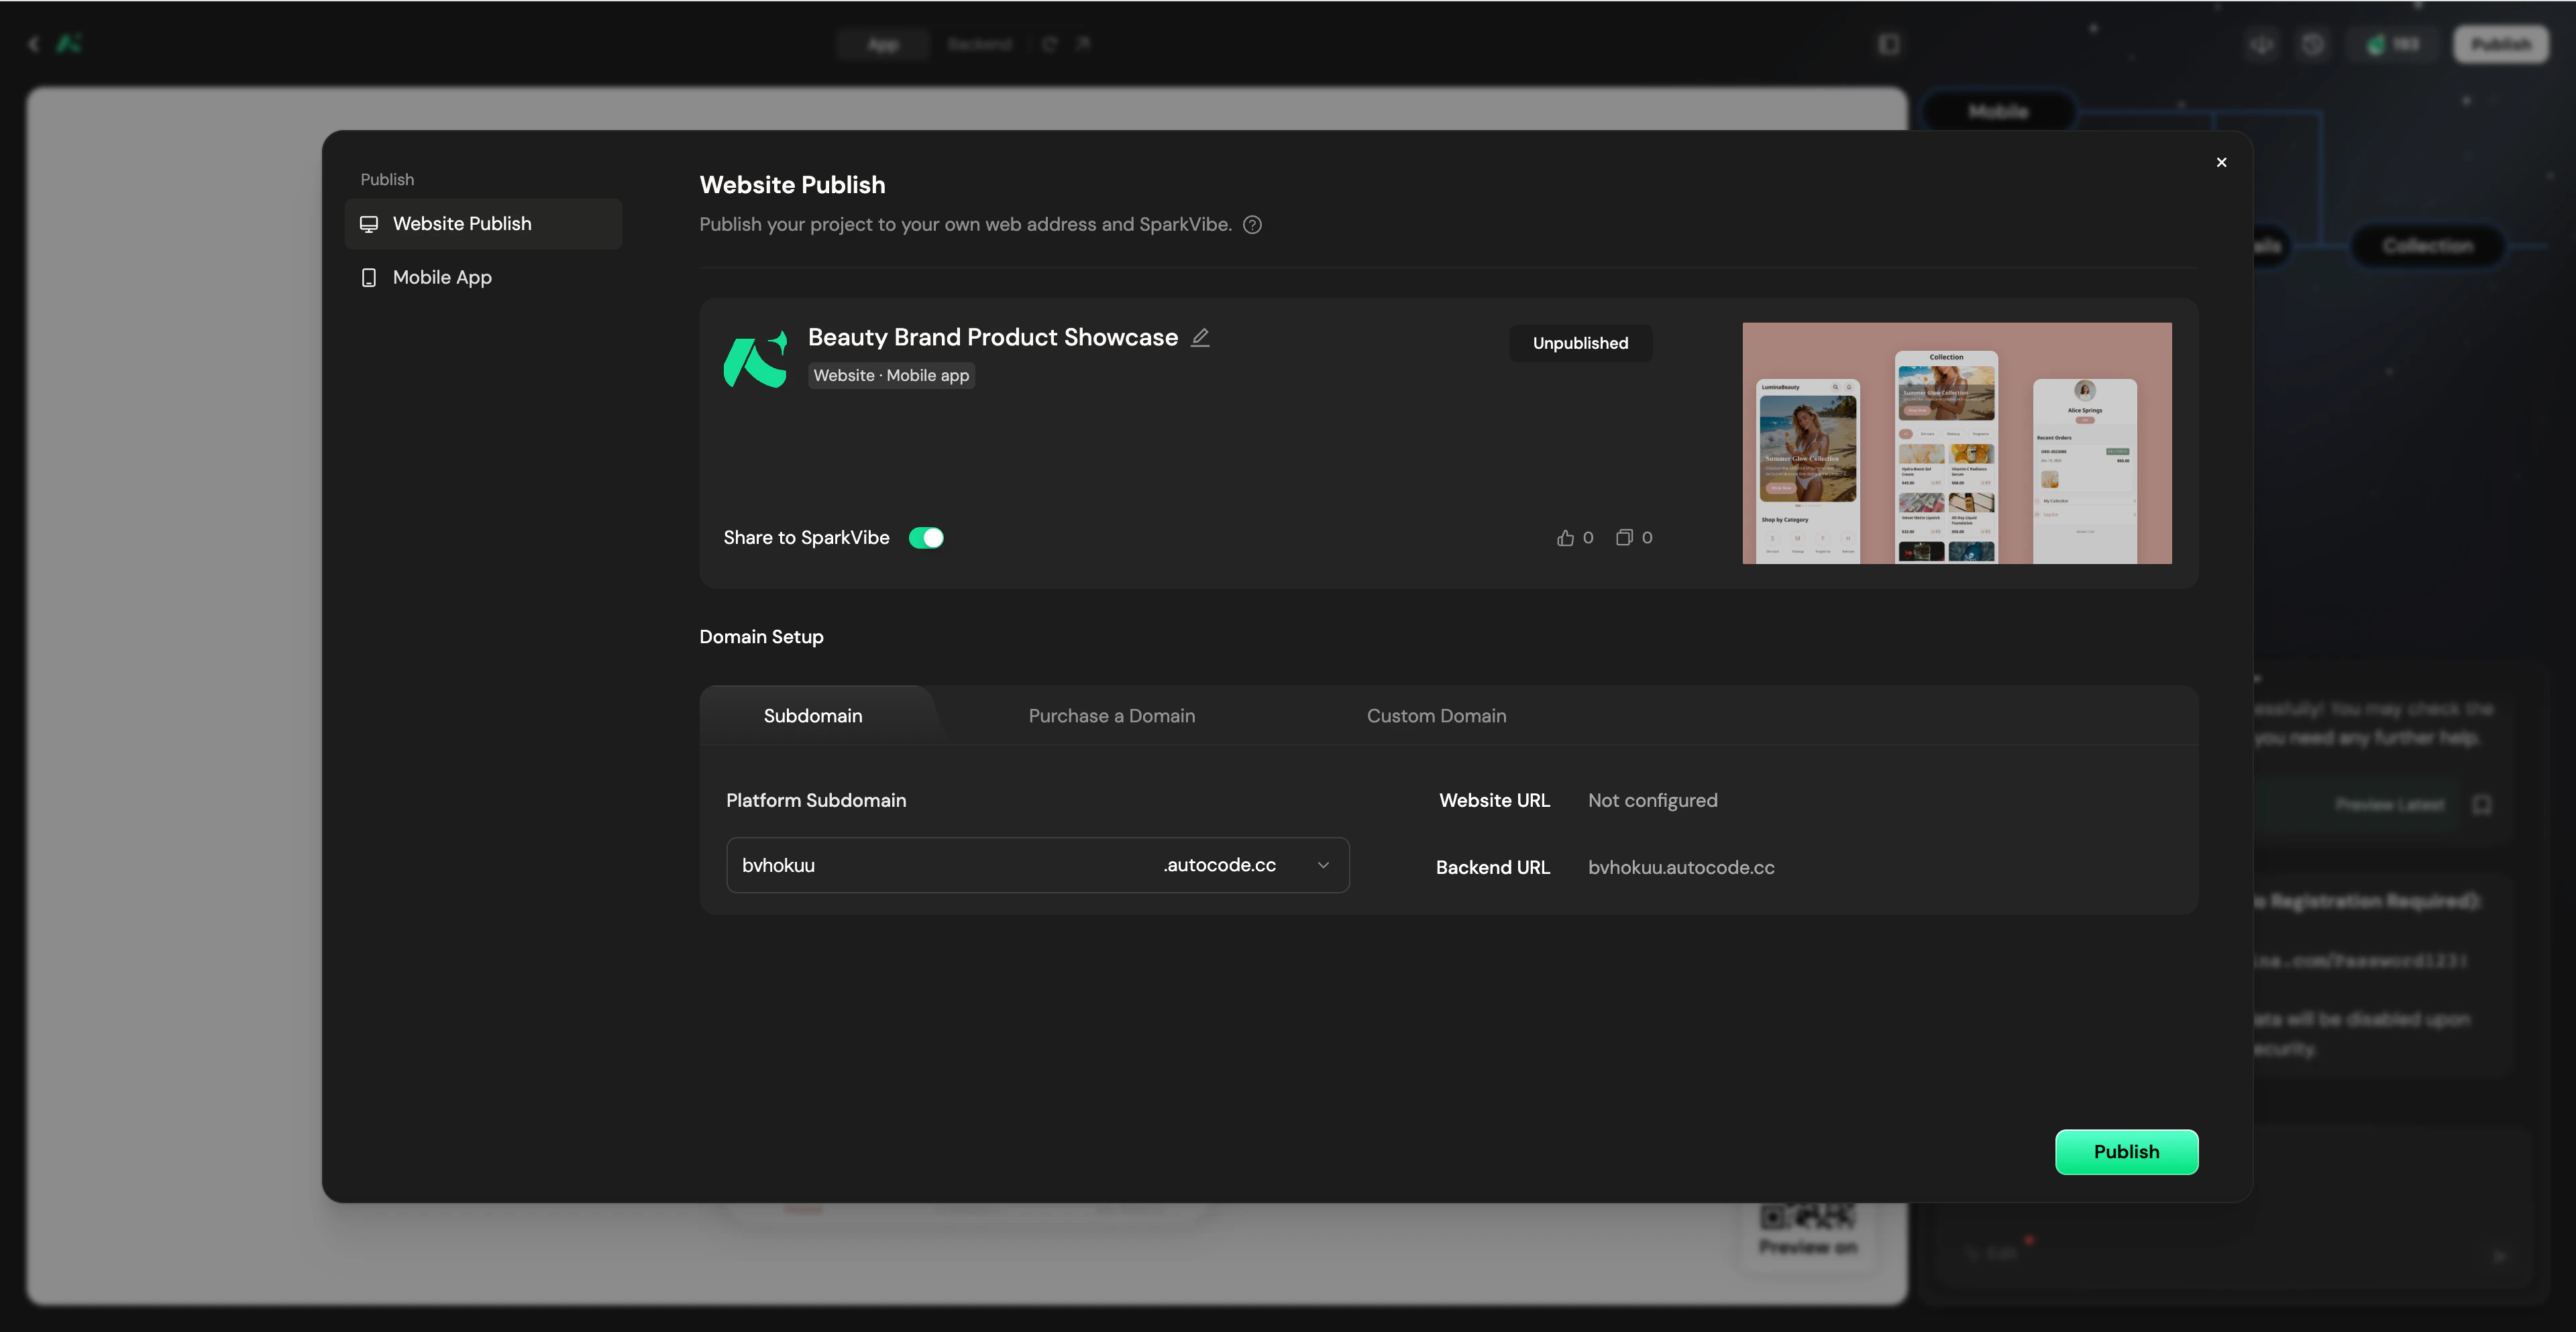
Domain options
Platform Subdomain
All users (including Free plan users) receive a free*.autocoder.cc Subdomain.
- Enter your desired prefix in the Subdomain configuration tab to automatically assign it.
Purchase a Domain
Want a professional domain without the hassle of manual configuration? You can buy domains directly inside AutoCoder.cc.This feature is available for Standard and Pro plans.
Search for a domain
In the Purchase a Domain tab, type your desired domain name to check availability.
Review pricing and checkout
Review the domain price plus a $9.99/year platform service fee. Complete your payment securely via Stripe.
Custom Domain
This feature is exclusive to paid plans (the Standard plan supports binding 1 domain, and the Pro plan supports unlimited domains).
Configure and verify DNS records
Log in to your domain provider (e.g., GoDaddy) and add the provided CNAME record to your DNS configuration.Once added, return to AutoCoder.cc and click Verify to check the resolution status.
Primary Domain Settings
If you bind multiple domains (e.g., a platform subdomain and a custom domain) to a single project, you can designate one as the Primary Domain in the Publish Project settings by clicking the ⭐ (Star) icon. All other alias domains will automatically and securely redirect to your Primary Domain.App launch
Complete app packaging and test distribution.The Mobile App tab is only displayed when your project includes a mobile application.
Test package download (Android / iOS)
If you generated a mobile app, switch to the Mobile App tab after clicking Publish. Currently, AutoCoder.cc only supports generating and downloading Android APK test packages for installation testing. iOS test packages (.ipa files) and TestFlight distribution are not supported at this time.App store launch
Currently, the platform does not support directly publishing the generated app to Google Play or the Apple App Store. You must handle compliance and the submission process manually.Export project
Get full control of the project.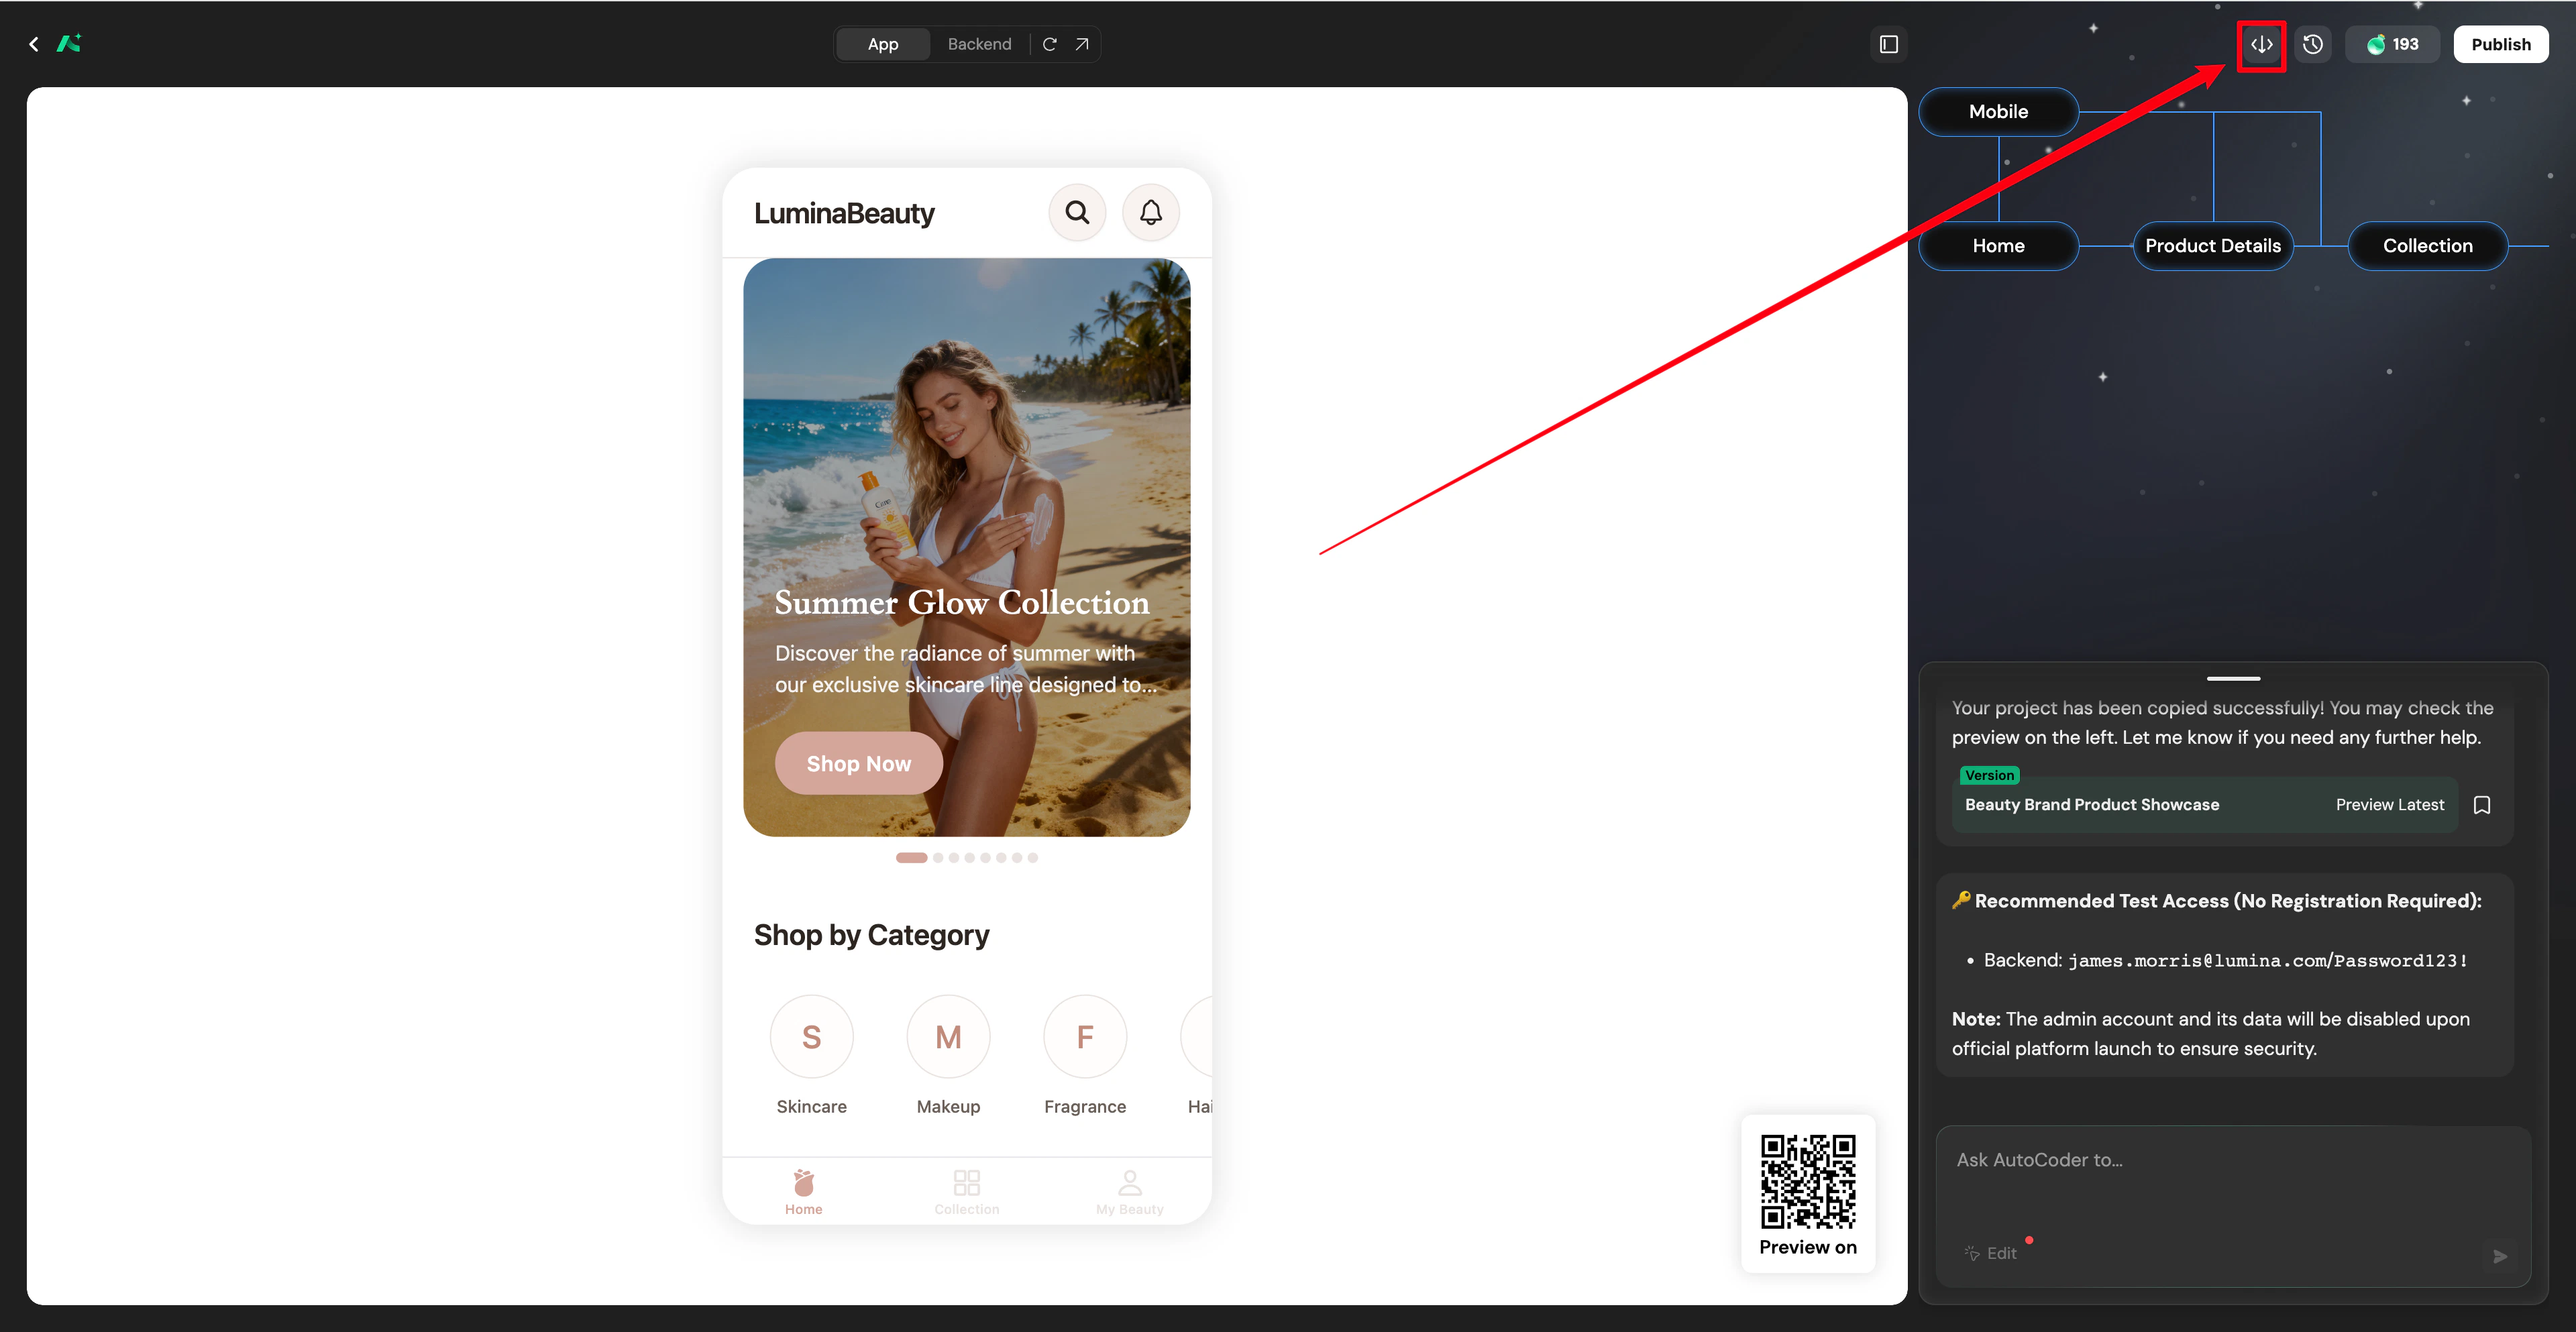
Source code export
- Source Code Export is an exclusive feature of the paid plans. The Free plan does not support this operation.
- Package and download the complete production-grade code generated by AutoCoder.cc (including frontend UI, backend logic, and database schema) to your local machine. Deploy it to your own cloud server or a third-party hosting platform to achieve 100% ownership of your digital assets.