Sign in to AutoCoder.cc
Register and log in to your AutoCoder.cc account. You can use Google login for quick access. Once logged in, you can: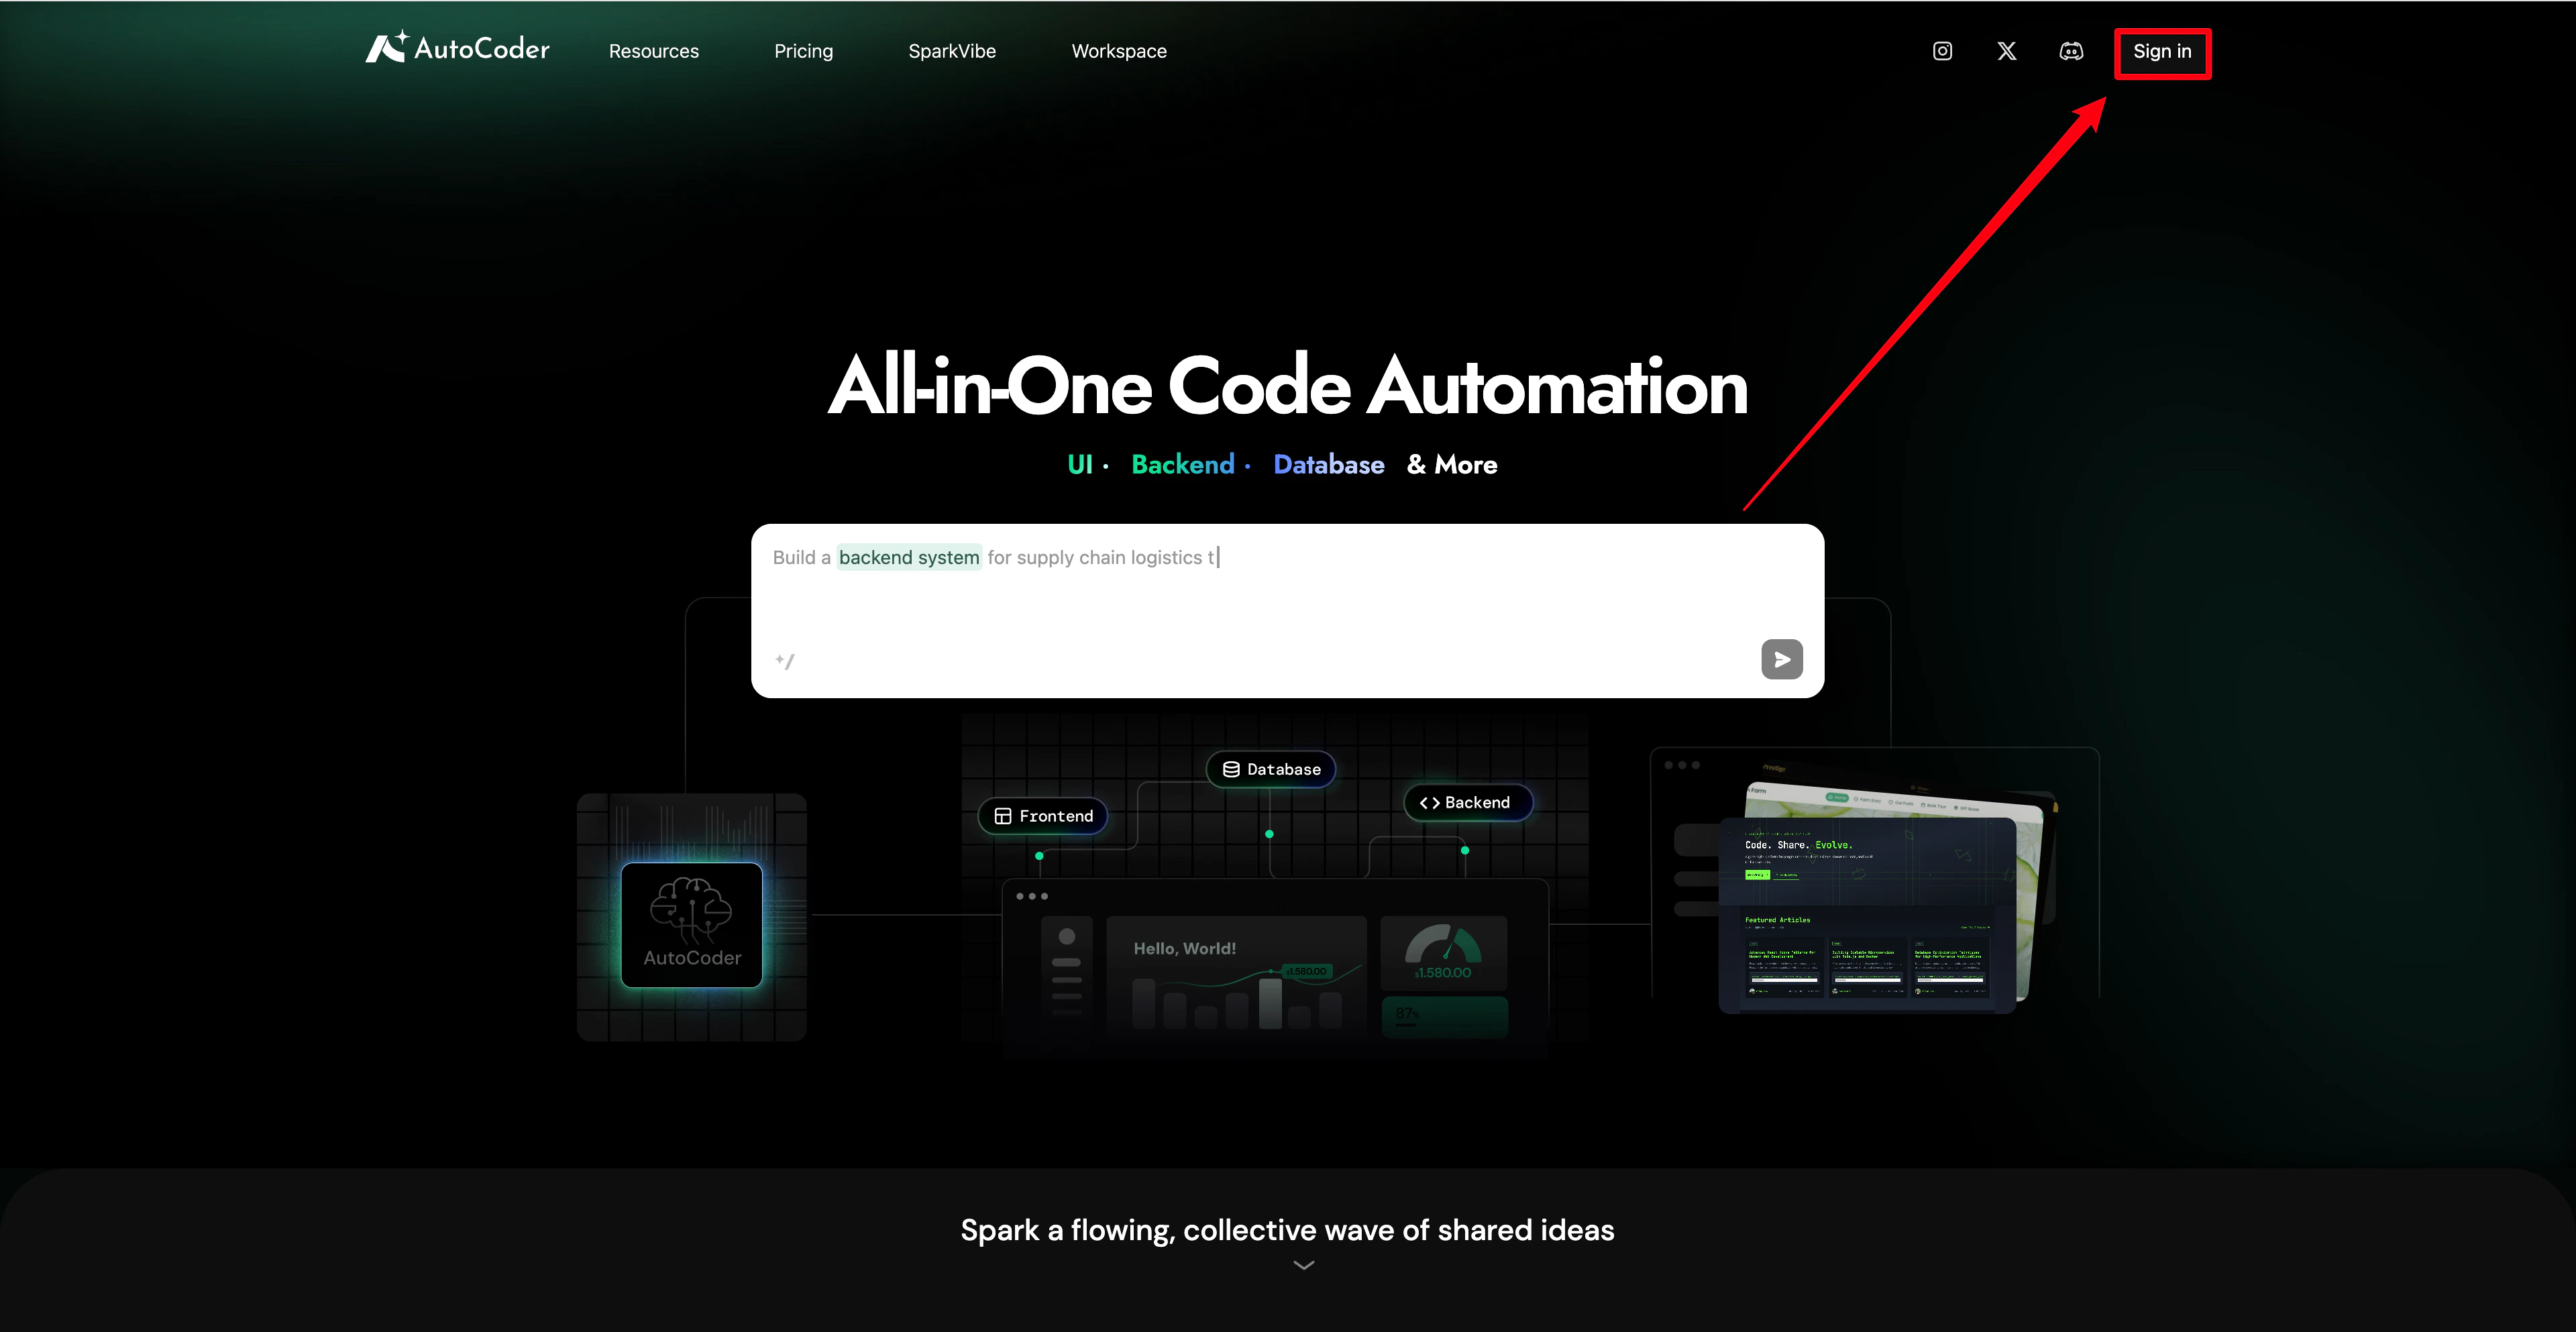
- Create new projects
- Edit generated applications
- Browse community projects
- Manage projects in the Workspace
Describe your idea
After logging in, you will enter the AutoCoder.cc homepage. In the input box, describe the application you want to create. For example: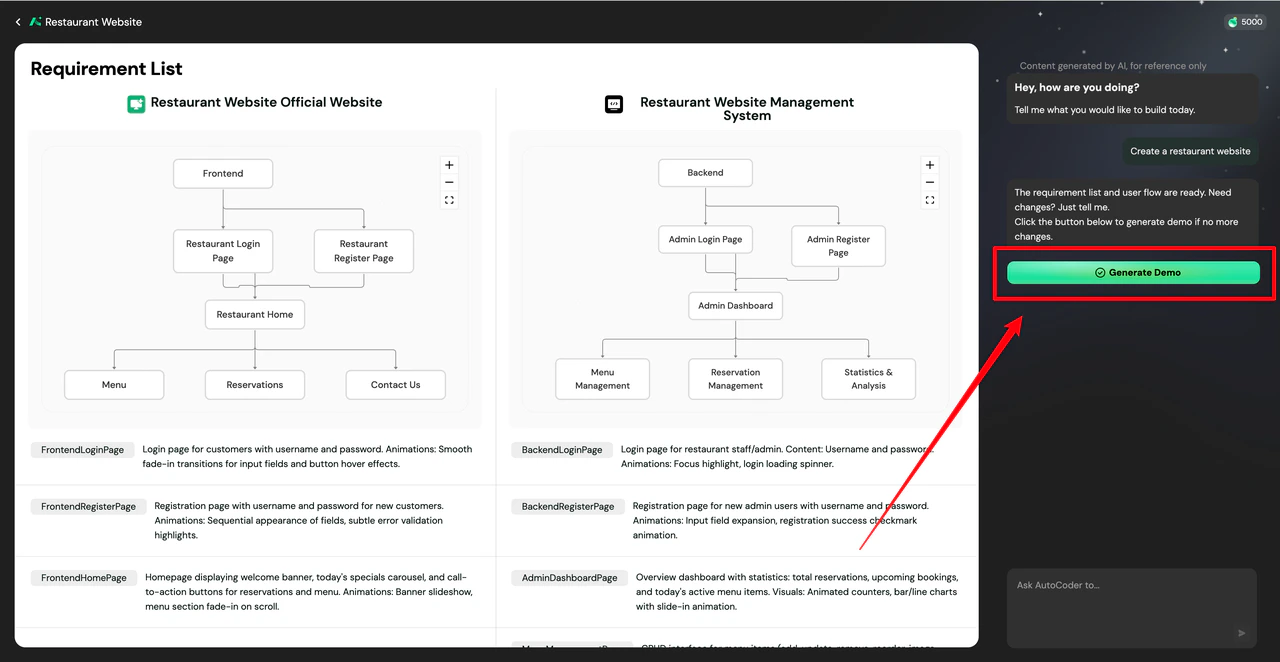
- “Create a restaurant website”
- “Build a landing page for a product”
- “Create a task management app”
Generate your first project
Click Generate, and AutoCoder.cc will automatically create the application demo. The demo is built accurately based on your Requirement List. If you need to adjust the requirements, simply tell the AI in the input box.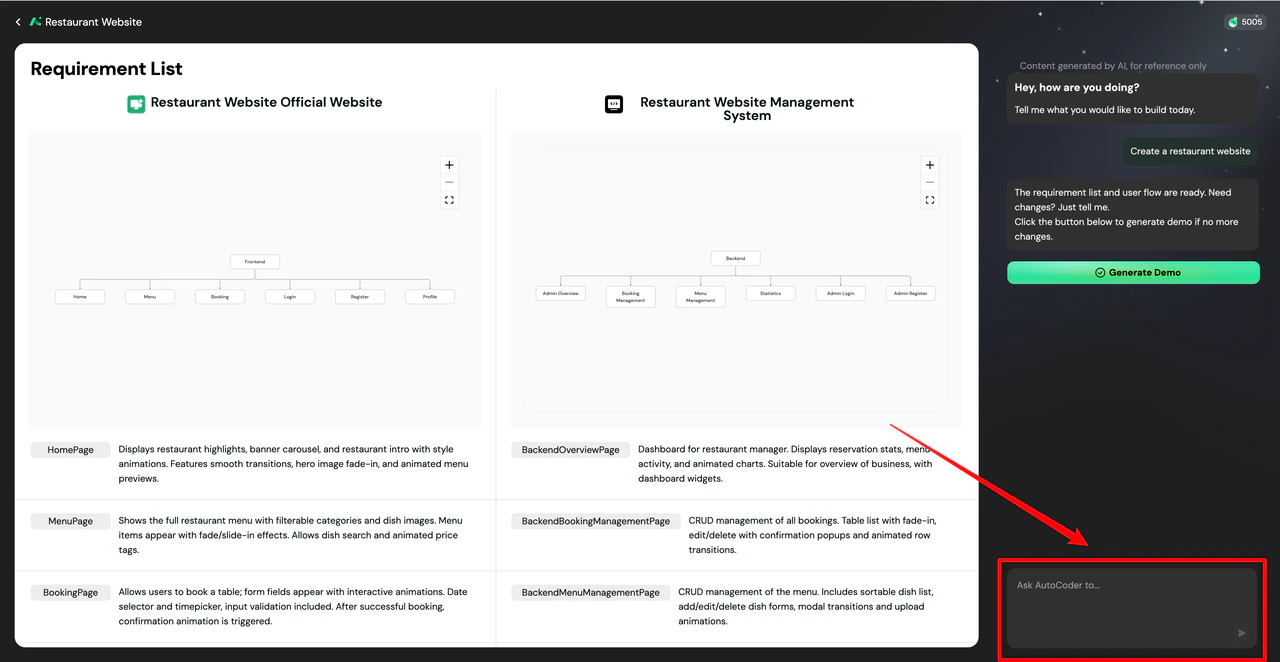
- Page structure
- UI layout
- Basic functional logic
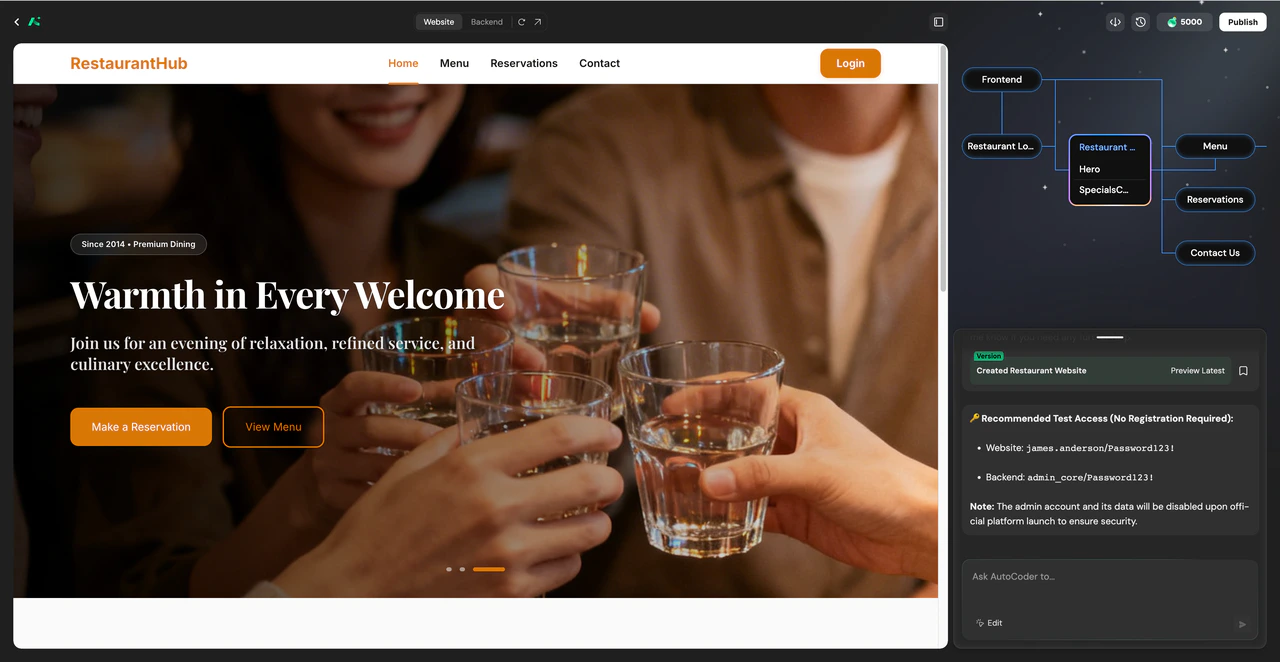
Refine your project
After generating the project, continue to optimize your application through AI chat. You can:
- Add new pages
- Modify page structures
- Update functional logic
- Optimize content and layouts
What to read next
If you have completed your first project, you can continue exploring:Features
Explore AutoCoder.cc’s full capabilities to learn how to edit and optimize your applications.
FAQ
Find answers to common questions and troubleshooting solutions.