

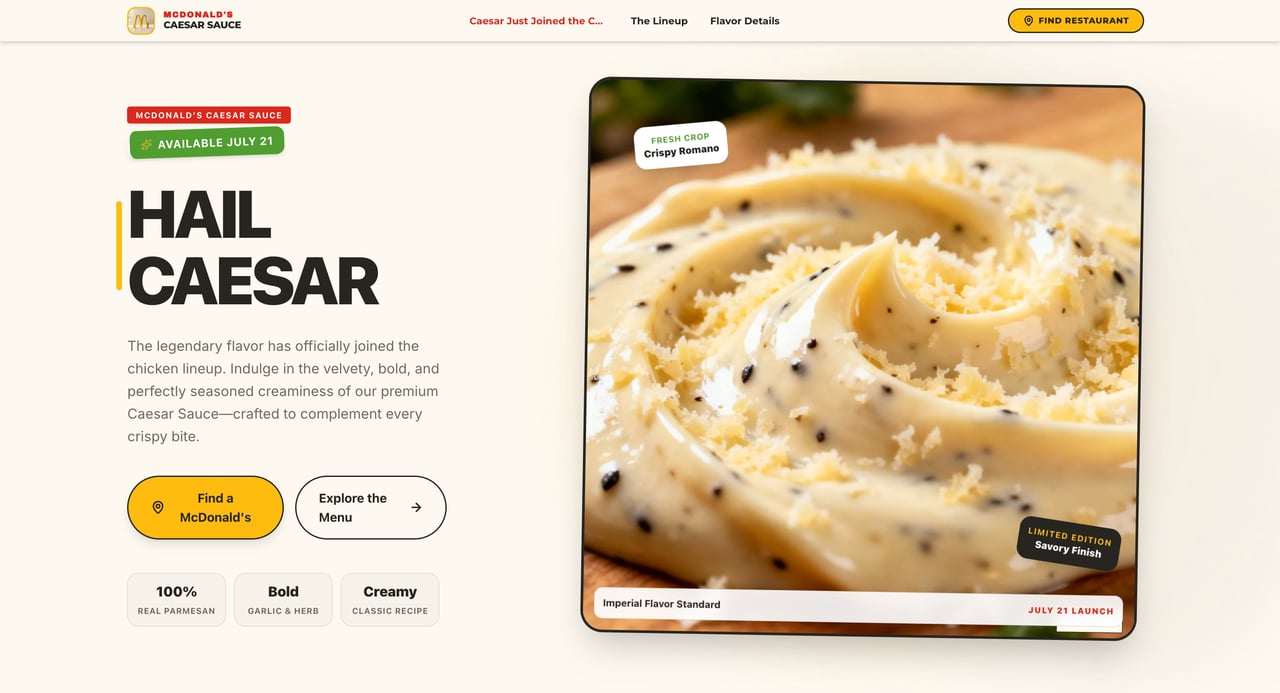
The generated Caesar Sauce landing page, including campaign messaging and a restaurant-finder call to action.
Step 1 — Choose the business on Google Maps
Chris searched for McDonald’s locations in New York and opened a listing. The Maps page already contained the basic business context: the store name, address, opening hours, phone number, photos, directions, ordering options, ratings, and customer reviews. That information normally has to be gathered and reorganized before a business website can be built. Here, the listing itself became the source material. Chris copied the Google Maps URL and moved directly to AutoCoder.cc.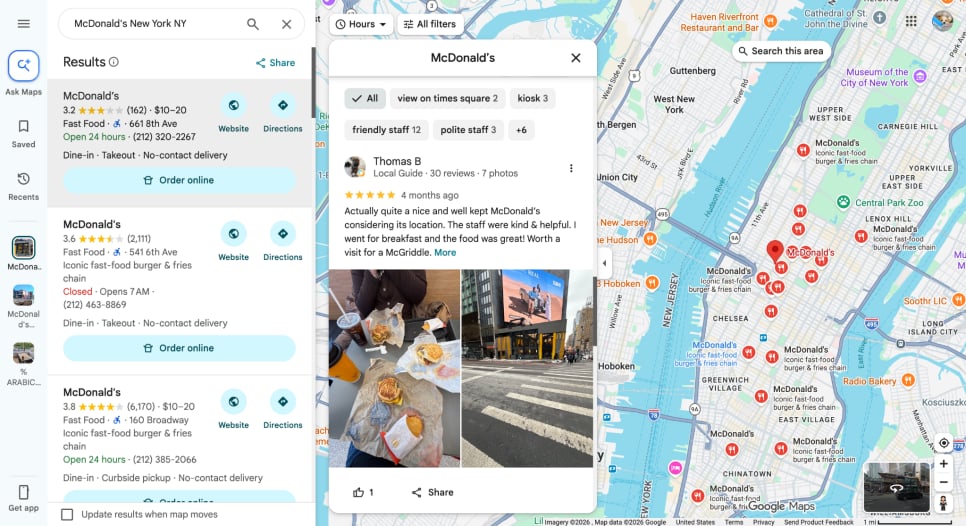
Chris begins with a normal Google Maps search and selects a specific McDonald's location.
Step 2 — Submit the link through Google Maps Generator
Inside AutoCoder.cc, Chris opened the dedicated Google Maps Generator from the footer: under Solutions, select Google Maps Generator.
Select Google Maps Generator under Solutions in the AutoCoder.cc footer.

The dedicated Google Maps Generator accepts the listing URL and begins processing the business information.

The preview confirms the extracted Google Maps details and presents the Generate Website action.
Step 3 — Generate the product lineup
The generated site did more than display a restaurant name and address. It created a campaign-style product section with images, names, descriptions, pricing, key ingredients, nutritional details, and ordering actions. Each item was presented as a separate card, making the lineup easy to scan. Because the structure was generated as part of the application, Chris could later change the content without rebuilding the page. The result felt like a dedicated product launch rather than a repackaged directory listing.
AutoCoder.cc organizes the Caesar lineup into a structured, responsive product section.
Step 4 — Add location search and campaign information
Next, AutoCoder.cc generated the practical parts of the site. A ZIP-code search helped visitors find a nearby restaurant, while the FAQ section answered common questions about availability, ingredients, customization, and delivery. This changed the page from a visual concept into a usable customer journey: discover the sauce, compare the products, understand the details, and then find a restaurant.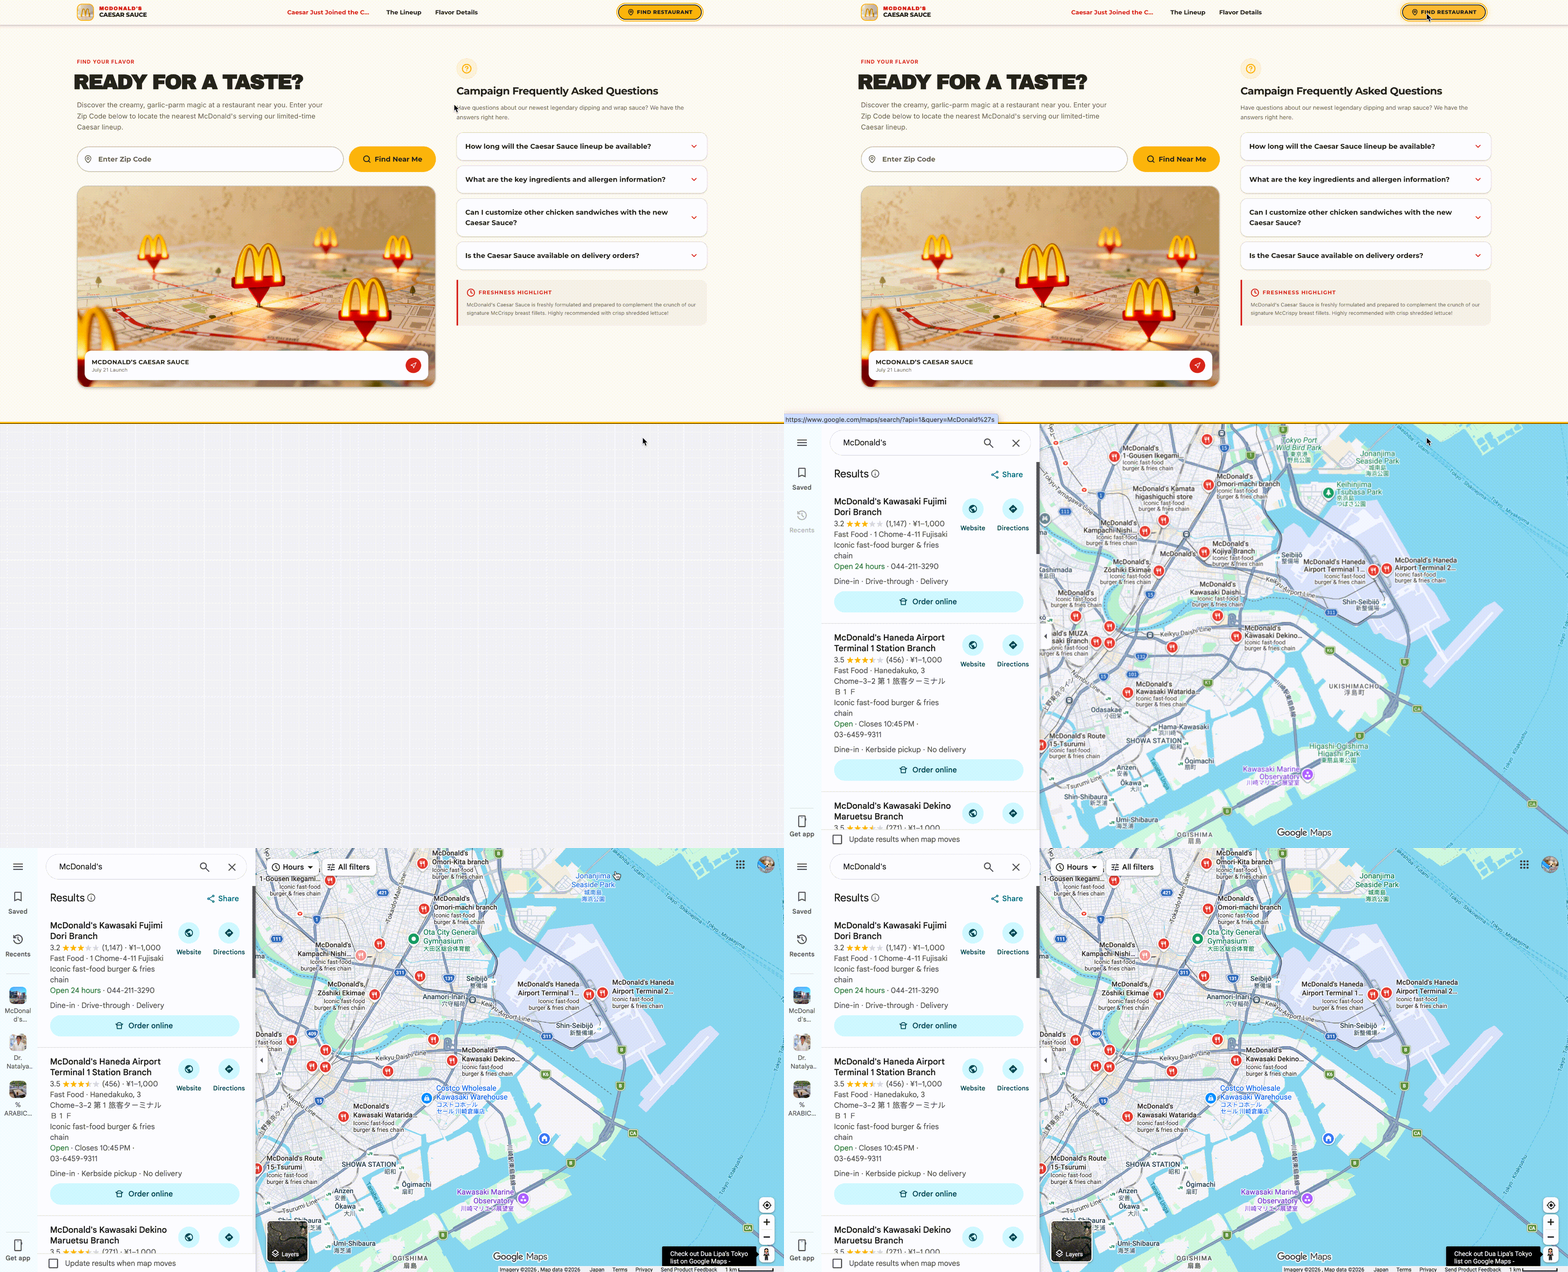
The generated restaurant finder and FAQ sections complete the customer-facing flow.
Step 5 — Manage the campaign from an admin panel
AutoCoder.cc also created an admin panel behind the website. Chris could view campaign performance, see store-finder activity, review conversion metrics, and move between content-management areas for the hero section, products, FAQs, and campaign settings. This was useful because the generated project was not limited to a static front end. It included the operational interface needed to update and manage the campaign after the initial build.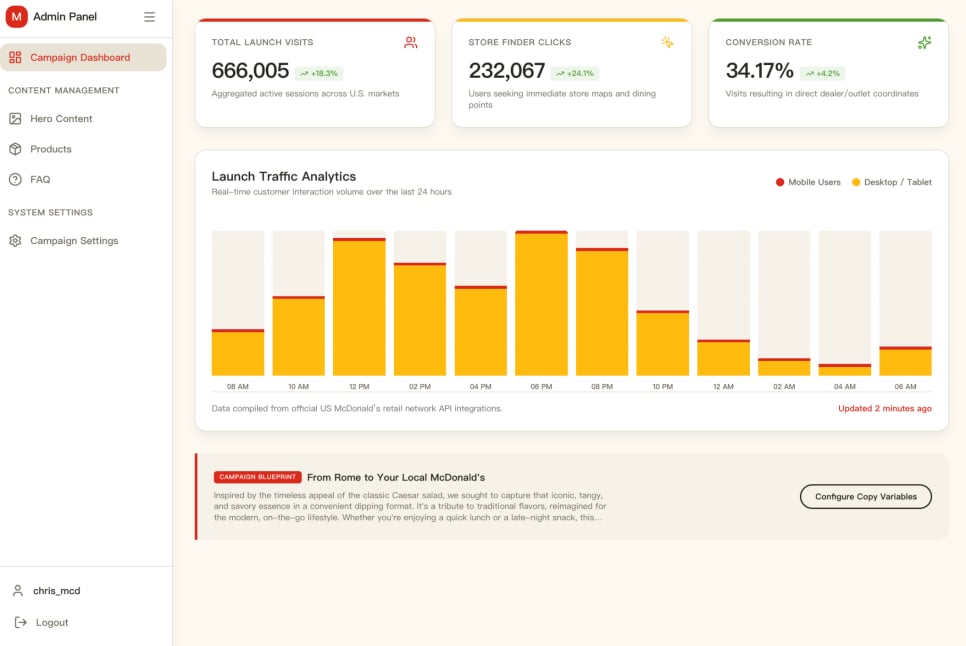
The campaign dashboard provides a central view of traffic, store-finder clicks, and content controls.
Step 6 — Edit products without touching the layout
From the product-management screen, Chris could edit individual items, change their order, hide or remove products, and create new entries. A live preview at the bottom showed how the lineup would appear to visitors. That separation matters: the design and application structure can stay consistent while campaign content changes. A new product, revised description, or different ordering sequence can be handled from the interface rather than through another full development cycle.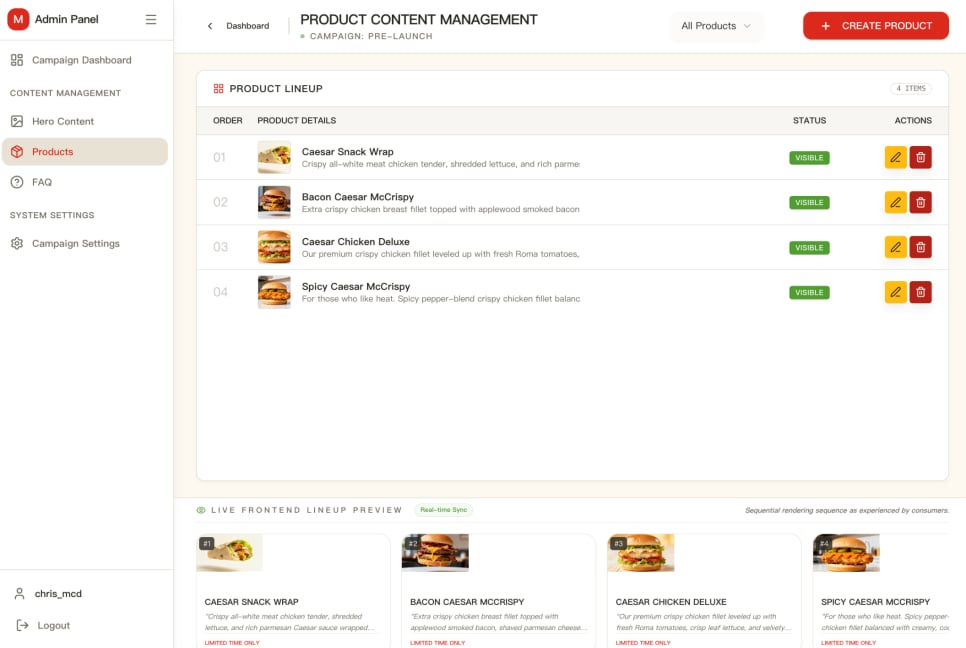
The product-management interface keeps the public lineup editable and synchronized with the live site.